How to build your first website: tips for kids
Creating your first website is an exciting adventure that helps children develop programming skills, creativity, and self-expression. Even if you’re just 8 or 12 years old, you can build your website with minimal knowledge of HTML and CSS. In this article, we’ll show you how to take your first steps in web development and create a simple website.
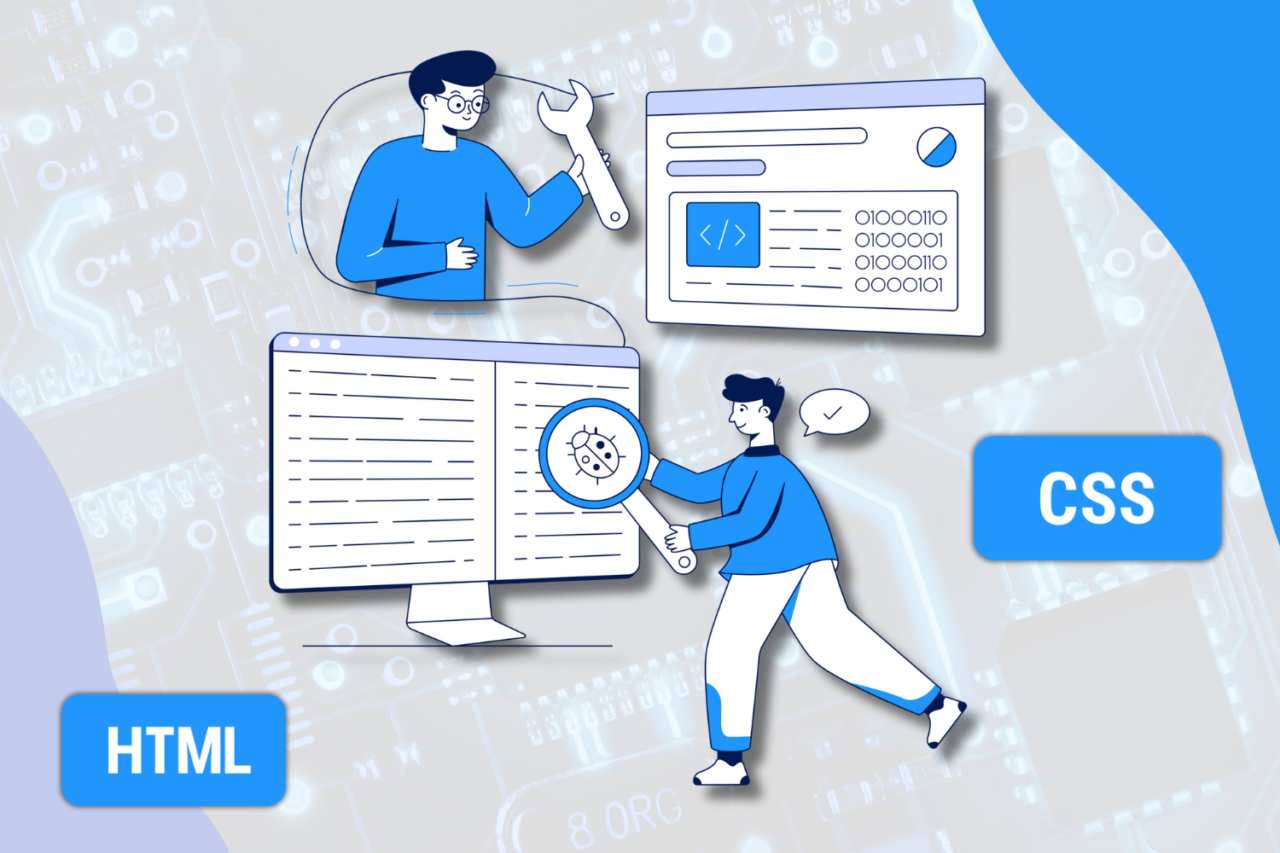
What are HTML and CSS?
Before we begin, let’s understand what these strange abbreviations mean:
- HTML (HyperText Markup Language) – is a markup language that helps create the structure of web pages. With HTML, we define what appears on the page: headings, text, images, links, etc.
- CSS (Cascading Style Sheets) – is a style language that helps make pages visually appealing and user-friendly. With CSS, we set colors, fonts, margins, and other styles for HTML elements.
1. Planning the Website
The first step in creating any website is to decide what it will be about. Imagine you are the designer of your site. Here are some questions to help you plan:
– What will your website be about? (Hobbies, favorite games, pets?)
– What pages do you need? (Home page, about me page, photo gallery?)
– What images or text would you like to add?
2. Creating the HTML File
Next, you’ll create your first web page. You’ll need a simple text editor, like Notepad (Windows) or TextEdit (Mac). Here’s what the code for the simplest website looks like:
<!DOCTYPE html>
<html lang=”en”>
<head>
<meta charset=”UTF-8″>
<meta name=”viewport” content=”width=device-width, initial-scale=1.0″>
<title>My First Website</title>
</head>
<body>
<h1>Hello! This is my first website</h1>
<p>My name is [Your Name], and this is a page about my favorite things.</p>
</body>
</html>
The <h1> tag is a large heading.
The <p> tag is a paragraph where you can write text.
Save this file as index.html and open it in your browser. You’ll see your first page!
3. Adding Styles with CSS
Now let’s make the site look better by adding styles using CSS. In the same folder where your HTML file is, create a new file and name it styles.css. Add the following code:
body {
background-color: #f0f8ff;
font-family: Arial, sans-serif;
color: #333;
text-align: center;
}
h1 {
color: #0073e6;
}
p {
font-size: 18px;
}
To apply these styles, you need to link them to your HTML file. Insert the following line in the <head> section:
<link rel=”stylesheet” href=”styles.css”>
Now, when you refresh your page, the background will be light blue, the heading will be blue, and the text will be easier to read.
4. Adding Images and Links
Now it’s time to add something more interesting, like an image. To insert an image, use the `<img>` tag:
<img src=”myphoto.jpg” alt=”This is me!” width=”300″>
Don’t forget to replace `myphoto.jpg` with the name of your photo file and specify the size in the `width` attribute.
If you want to create a link to another page or website, use the <a> tag:
<a href=”https://go-mother.com”>Visit GoMother</a>
5. Publishing the Website
Once your website is ready, you can share it with friends and family. You can use free hosting platforms like GitHub Pages or Netlify to do this. This will make your site accessible to everyone online! A detailed guide on how to upload your site to hosting can be found in the next article.
Creating your first website is a fun and exciting process
By learning the basics of HTML and CSS, you can build more complex projects, add interactive elements, and work with other web technologies. This is just the beginning of your journey into web development! At GoMother IT School, we offer an HTML/CSS course for kids aged 8 and up. In this course, every student will learn to create their websites from scratch. The first lesson is free.